Before self-service gas pumps, there was a time when every fuel fill-up required a service attendant and included the obligatory, “Do you want me to check your oil?” An affirmative driver response spurred the service attendant to open your car’s hood, withdraw the oil dipstick, and verify your car’s oil level was in the safe zone. If not, the attendant added a quart of oil and rechecked the level. We’re not making this up. Attendants offered to check your oil with every fuel stop.
In this age of food marts with fuel pumps serving as the primary retailer for filling our cars with gas, we are pretty much on our own to check the oil between scheduled oil changes. At first glance, this may seem somewhat intimidating. However, it’s not beyond the skill set of most drivers willing to get their hands a little dirty. Here, we will give you the basic steps for safely checking your engine’s oil.
How Often Should You Check Your Engine Oil?
Gary Hardesty, Kelley Blue Book’s in-house service and maintenance expert, advises you to check your engine oil level at least once every 30 days unless there is some underlying issue like extremely high mileage or a chronic oil leak that would cause you to check more often. Oil is your engine’s lifeblood, helping maintain a healthy operating temperature and reduce the friction between your engine’s many moving parts. Consequently, a lack of oil (or filthy oil) can damage your car’s engine.
RELATED: How Often Should I Change My Oil?
Preparing to Check Your Engine Oil
- Consult the owner’s manual: Your car’s owner’s manual provides detailed information for checking and adding oil to the engine. For example, it will specify whether you should measure the oil level when the engine is cold or warm.
- Level ground: Park on level ground for an accurate measurement.
- Safety glasses: Whenever your head is under the hood of your car, wearing safety glasses makes sense. Better safe than sorry, right?
- A clean rag: Use a clean rag or paper towel to wipe off the dipstick.
- Gloves: If you are concerned about getting your hands dirty, wear work or disposable gloves.
5 Steps for How to Check Your Engine Oil
- Locate the dipstick: Your owner’s manual will pinpoint the location of the dipstick or provide information on reading your car’s oil level monitor if there is no dipstick. Often, the carmaker simplifies identifying the dipstick with a yellow or orange handle. The oil-fill opening should also be nearby, with an oil can symbol on its cap.
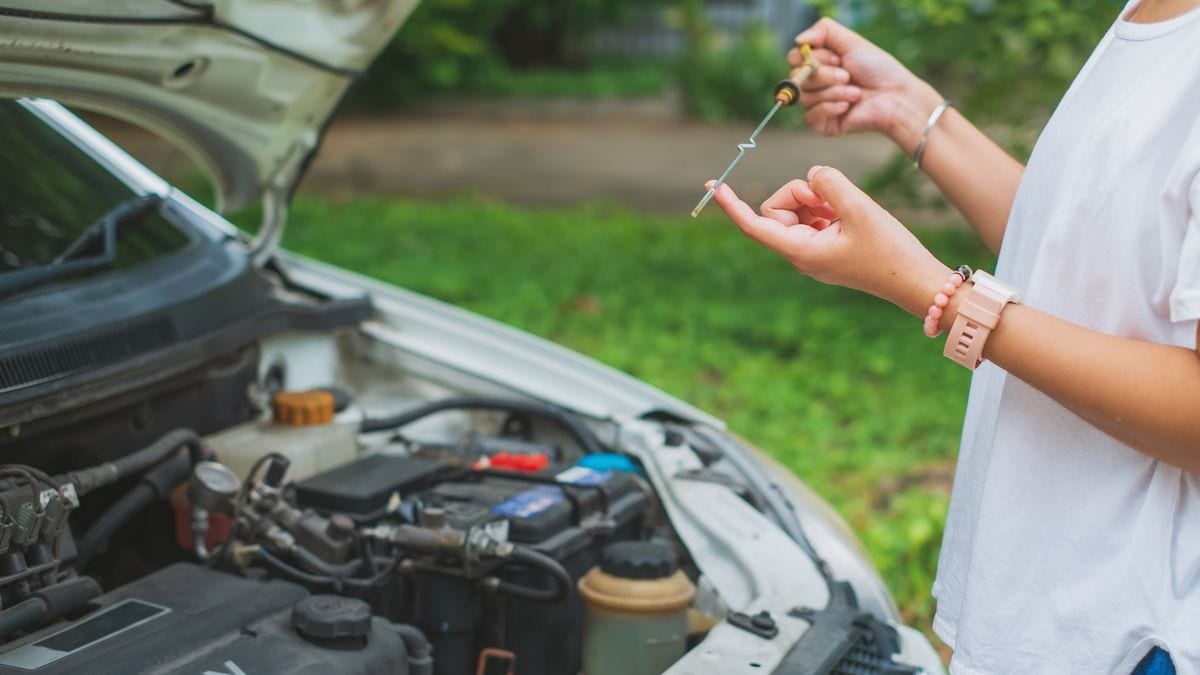
- Pull the dipstick: Fully extract the dipstick from its holder and wipe off the oil with a clean rag. With the oil removed, you can more easily see two lines toward the bottom of the dipstick. The top line is the “safe” or “full” line. The bottom line is the “add” line.
- Reinsert the dipstick: Slip the dipstick all the way back into its tube.
- Withdraw the dipstick: Pull the dipstick again to determine the oil level in relation to the two lines. The oil level is acceptable at the safe line or somewhere between the add and safe lines. You need to top off the oil if it is at or below the add or fill line. Clear to amber-colored oil means it’s newly added. When the color turns black, consider changing the oil.
- Double-check the level: Before adding oil, recheck the level to ensure the initial reading was correct.
Remember, basic maintenance helps keep your vehicle in shape. Maintaining your vehicle helps retain its value.